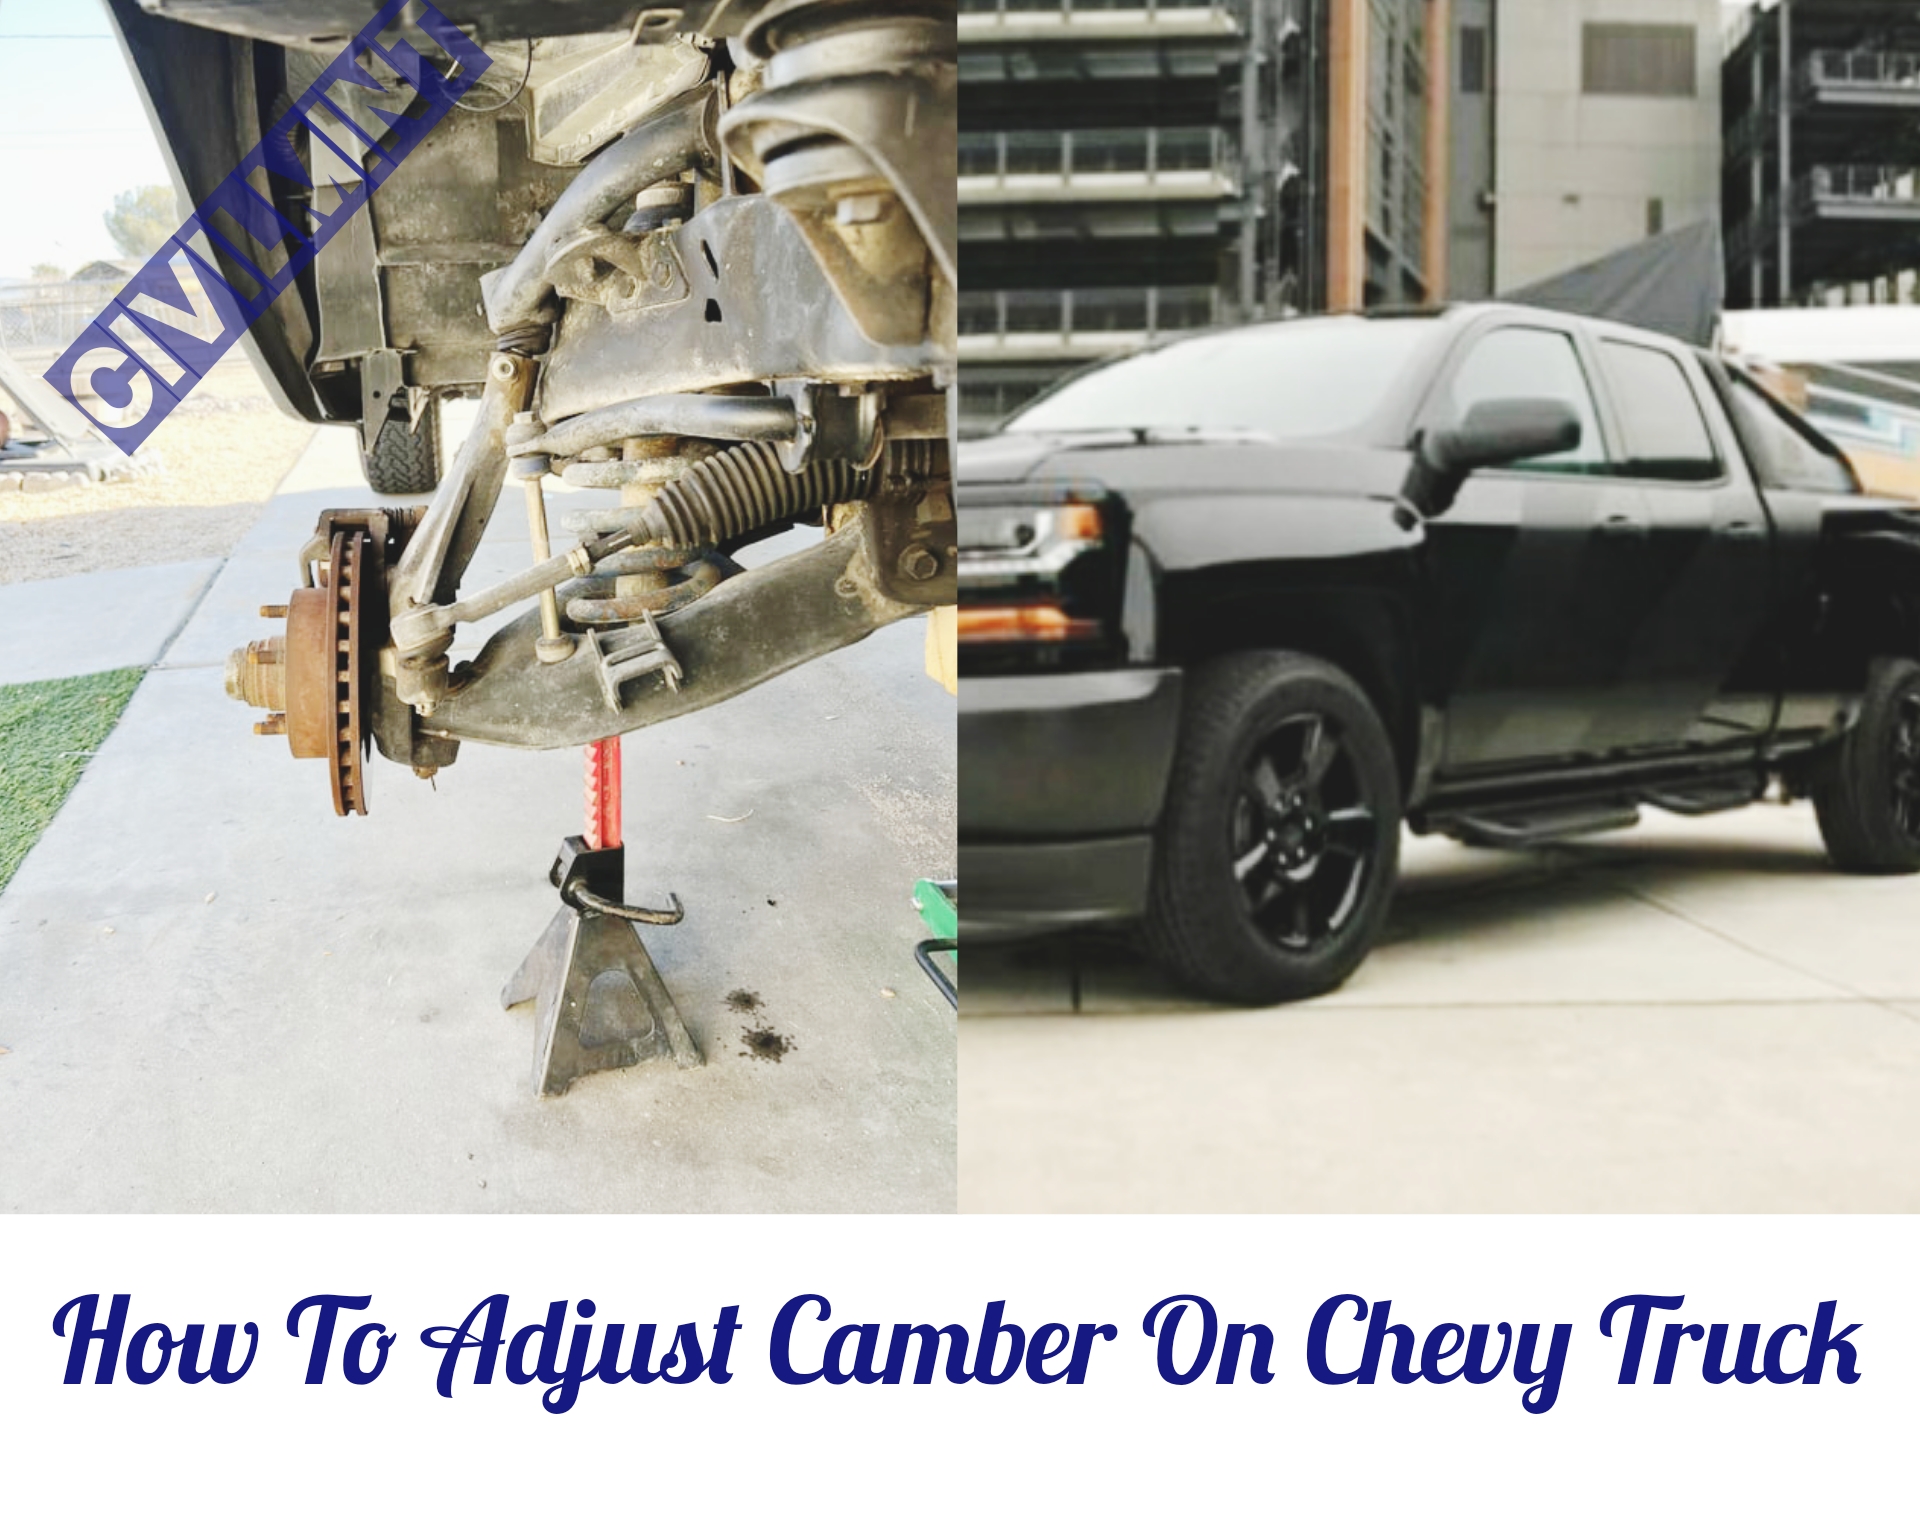
In this blog post, I will discuss about ‘how to adjust camber on chevy truck’.
Adjusting the camber on your Chevy truck is a straightforward process that you can do yourself. First, start by measuring the current camber angle to know where you are starting from. Then, safely remove the tires from your truck to access the suspension components.
Next, locate the bolts on the upper control arm and loosen them. You will need a wrench for this step. With the bolt loose, you can now adjust the length of the upper control arm. Keep a close eye on the wheel angle while making this adjustment. Stop when you achieve your desired camber angle.
Once you reach the correct camber angle, tighten the bolts securely. This ensures that your adjustment remains in place. Finally, reattach your tires to the truck. Its as simple as that!
This procedure doesn’t require any advanced technical skills, and you can easily perform camber adjustments on your Chevy truck with the right tools and a little patience.
Table of Contents
What Is Camber In A Vehicle?
Camber refers to the tilt of the front wheels in relation to their vertical axis. It plays an important role in maneuvers. Incorrect camber alignment can lead to problems like poor handling, excessive tire wear and increased fuel consumption, which can cost you money.
Signs of misalignment include high gas consumption, tire wear, and noticeable steering difficulties. Regularly inspect and adjust your camber to match the manufacturer’s recommended settings.
Proper wheel alignment is important for safe driving. Experts recommend regularly checking your camber to ensure correct wheel alignment.
Types Of Camber Angel In A Chevy Truck
- Zero Camber: Chevy trucks have their wheels standing straight up and down, like | |. This is good for regular driving on roads.
- Negative Camber: In some Chevy trucks, the tops of the wheels tilt inward toward the center of the truck, like \ /. This can help with turning and grip, often used for sporty driving.
- Positive Camber: Chevy trucks generally don’t have their wheels tilted outward at the top, like / , because it can reduce grip and cause uneven tire wear.
How To Adjust Camber On Chevy Truck
Adjusting camber on a Chevy truck is essential to ensure proper tire wear and handling. This process involves making adjustments to the angle of the wheels in relation to the road surface. Follow these steps to adjust camber on your Chevy truck:
- Gather Necessary Tools and Materials:
- Jack and jack stands
- Lug wrench
- Camber adjustment kit (if applicable)
- Tape measure
- Alignment machine (optional)
- Prepare the Vehicle:
- Park the truck on a level surface and engage the parking brake.
- Loosen the lug nuts on all four wheels but do not remove them.
- Lift the Vehicle:
- Use the jack to lift the front of the truck off the ground.
- Secure it in place with jack stands for safety.
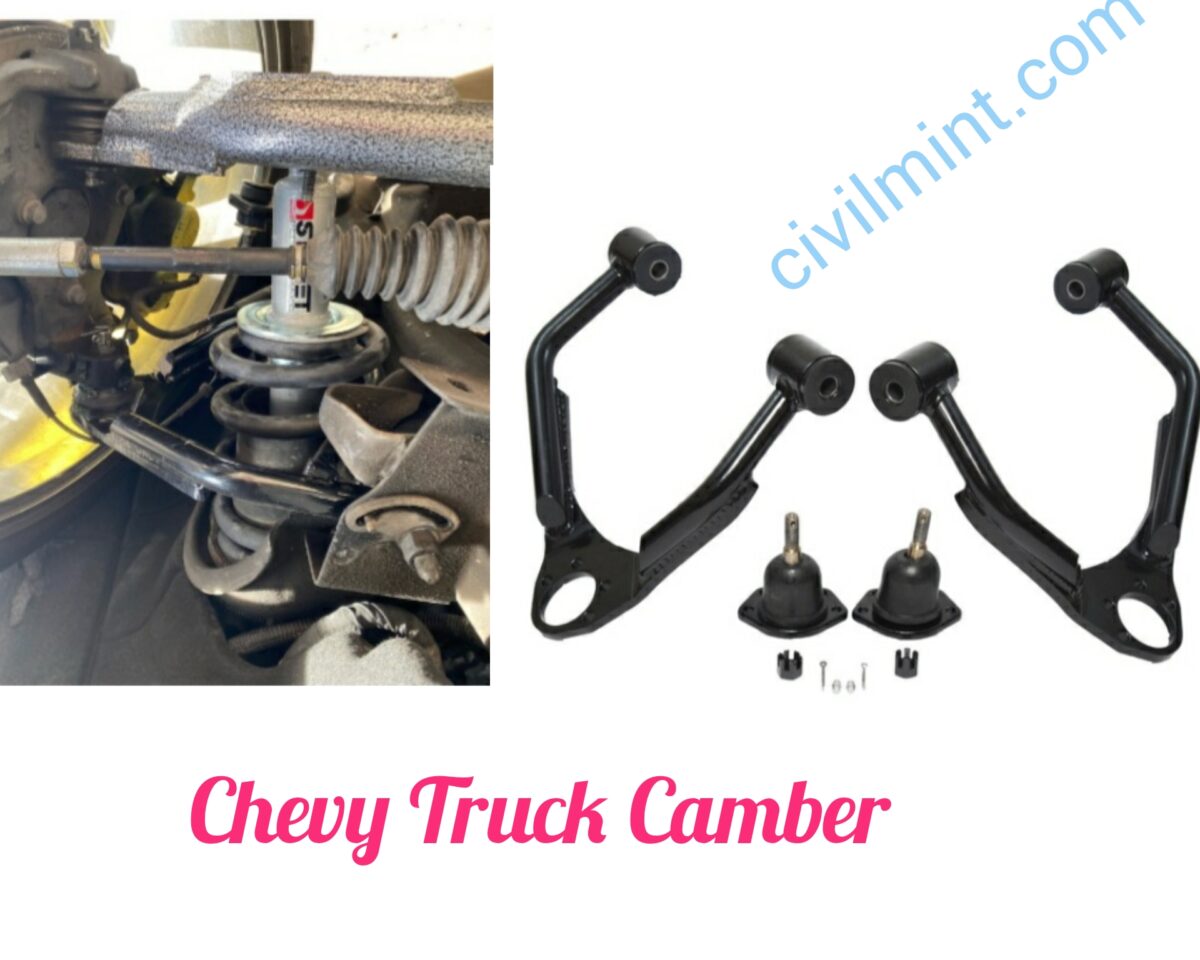
- Access the Camber Adjustment Bolts:
- Locate the camber adjustment bolts on the upper control arms or struts.
- Depending on your specific Chevy truck model, these bolts may be on the upper or lower control arms.
- Measure the Camber Angle:
- Use a tape measure to measure the camber angle of each front wheel.
- The camber angle is the measurement of how the wheel is tilted inward or outward, relative to the vertical axis.
- Refer to your truck’s service manual for the recommended camber angle specifications.
- Adjust the Camber:
- To adjust the camber, turn the adjustment bolt using the appropriate wrench or socket.
- Turning the bolt inward or outward will change the camber angle.
- Refer to your service manual to determine the correct direction for adjustment.
- Check Camber Angle Again:
- After making adjustments, measure the camber angle once more.
- Ensure that it falls within the specified range.
- Repeat for the Other Front Wheel:
- Repeat the camber adjustment process for the other front wheel.
- Maintain consistency with the adjustments to ensure even camber on both sides.
- Tighten Lug Nuts:
- Once you have achieved the desired camber angle, tighten the lug nuts on both front wheels.
- Lower the Vehicle:
- Carefully lower the front of the truck back to the ground using the jack.
- Test Drive and Recheck:
- Take the truck for a test drive to assess the handling and alignment.
- Pay attention to how it responds while driving straight and during turns.
- If necessary, make further adjustments and recheck the camber angle.
- Professional Alignment Check (Optional):
- For precise alignment, it’s advisable to have the truck’s alignment checked by a professional using an alignment machine.
- They can fine-tune the camber angle and ensure it meets the manufacturer’s specifications.
- Final Checks:
- Verify that the lug nuts are properly torqued.
- Ensure all adjustments are secure and within the specified camber angle range.
Read also: 20 Types Of Trucks And Their Uses
The Bottom Line
Adjusting the camber on your Chevy truck is an important maintenance task to promote uniform tire wear and optimal handling. By following these steps and referring to your truck’s service manual for specific details, you can maintain proper camber alignment for your vehicle. Regularly checking and adjusting camber can extend the life of your tires and improve overall safety while driving.