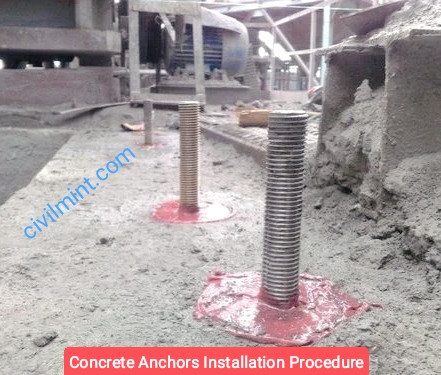
In this article, I will describe step by step procedure of how to install concrete anchors. Installation process of concrete anchors are simple.

Table of Contents
Tools and Materials:
Here are some necessary tools to install concrete anchors.
- Drill
- Masonry bit
- Concrete anchor screws
- Hammer
- Screwdriver
- Safety glasses
Installation Procedure
Installing concrete anchors requires precision and attention to detail.
Here is a step-by-step guide on how to install concrete anchors:
- Determine the type and size of anchor you need. The size of the anchor will depend on the weight of the object you want to secure and the type of surface you are drilling into. It’s important to choose the right size to ensure the anchor will hold securely.
- Wear safety glasses to protect your eyes from flying debris.
- Mark the spot where you want to install the anchor. Use a pencil or a marker to make a small dot on the concrete surface.
- Attach the appropriate size masonry bit to your drill. A masonry bit is designed to drill through concrete, brick, or stone surfaces.
- Drill a hole into the concrete surface. Start with a slow speed to prevent the bit from overheating, and gradually increase the speed until you have drilled through the surface.
- Clear any debris from the hole with a hammer or a vacuum.
- Insert the anchor into the hole. You may need to use a hammer to gently tap the anchor into place.
- Using a screwdriver, turn the screw into the anchor until it is flush with the surface.
- If you need to remove the anchor, use a screwdriver to turn the screw in the opposite direction until it is loose. Then, use pliers or a wrench to remove the anchor from the hole.
- Repeat the process for each additional anchor you need to install.
Final Thought
Installing concrete anchors can be a simple process as long as you follow the instructions carefully.
If you are unsure about any aspect of the installation, consult a professional to ensure a safe and secure installation.
