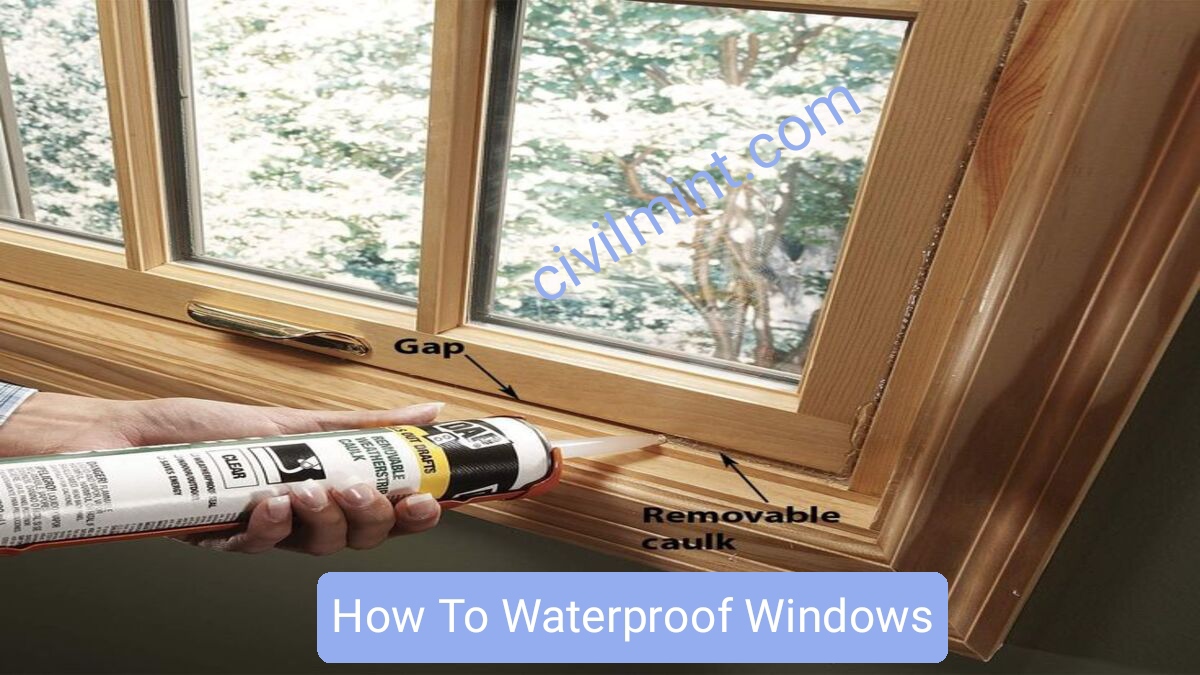
This article explains how to waterproof windows. Windows are basic components of a building. The window must be waterproof to prevent water from entering from the outside environment.
Table of Contents
Procedure To Waterproof Windows
Windows are an important part of any building. There is a possibility of water leakage due to the gap in the windows. Windows need to be waterproof to keep outside elements such as water from seeping in and hot or cold air from escaping, making your building more comfortable and even increasing its longevity.
Waterproofing of windows is carried out in two stages.
1. Pre-Installation Waterproofing:
Before installing the window, you will need the following equipment:
- Flashing tape
- Weather-resistant barrier (Tyvek or liquid flashing)
- Staple gun
- Utility knife
Here is the step by step procedure of pre-installation waterproofing:
- Apply a weather-resistant barrier over the sheathing. Weather-resistant barriers wrap around buildings that are under construction and prevent water from entering. Some are bonded directly to the sheathing, like liquid flashing, and others, like Tyvek, are applied after the sheathing is installed.
- Cut Tyvek away to reveal the window’s rough opening. The rough opening is an empty window frame that must be shaped around so the framing can be waterproofed before installation.
- Apply flashing tape around all sides of the rough opening. Make sure this tape reaches inside the window framing towards the interior and outside around the window’s perimeter.
- Apply flashing tape to cut ends of the WRB if using Tyvek. This seals the WRB to the sheathing, ensuring the WRB cuts don’t let in water.
2. Post-Installation Waterproofing:
After installing the window, you will need the following equipment:
- Wood shims
- Flashing tape or liquid flashing
- Utility knife
- Foam backer rod
- Sealant
- Caulk gun
- Caulk finisher tool
Here is the step by step procedure of post-installation Waterproofing:
- Insert wood shims between the window and wall on the window’s interior. Place shims on all sides of the window, making sure to follow the window manufacturer’s specifications.
- On the window’s exterior, apply flashing tape over the window flanges. Apply tape to the sides and top of the window, extending about 3 inches from each side. Do not apply flashing tape to the bottom of the window.
- Remove the shims and insert a backer rod to seal the interior. Line the backer rod into the joint between the window and framing and use a wood shim to press the rod firmly into the space.
- Load a caulking gun and apply sealant along the joints. Fill all four sides of the window, fully covering the backer rod. Thoroughly seal the window’s bottom to block any water.
- Run a caulk finisher tool over the lines of sealant. It’s important the sealant is smooth and any excess is wiped away, so it dries uniformly and fills the joint completely.
My Opinion
By following these simple steps, you can effectively waterproof your windows and keep your building safe and comfortable. Don’t forget to regularly inspect and maintain your windows to ensure they stay waterproof.
Tips: I would recommend hiring skilled workers or contractors to waterproof windows. Skilled workers can get the job done faster and save you time.
Thanks for reading my article!
Keep Learning!

