Herringbone tile pattern is the tile pattern when the tiles are made in unequal ratio like 3:1, 2:1, 4:2 etc.
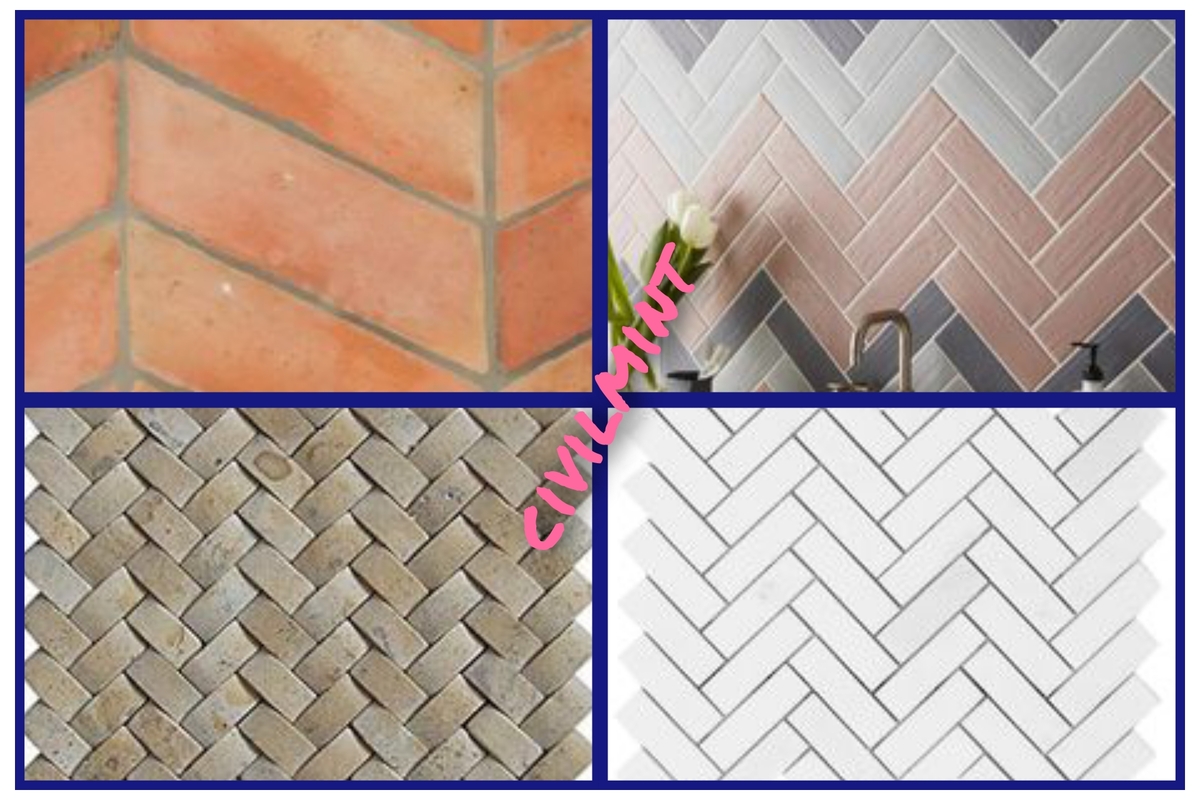
Table of Contents
What Is Herringbone Tile Pattern?
The herringbone tile pattern is a well-liked layout that is commonly utilized for the construction of road pavements and floor tiles.
This particular design is reminiscent of the skeletal structure of a herring fish and is created by arranging rectangular or parallelogram-shaped blocks in a specific way.
The dimensions of the blocks typically have a 2:1 or 3:1 ratio between their edge lengths, although other ratios can be utilized as well. Ratio of length and width of the tile should not be even.
Types
There are two main variations of the herringbone tile pattern: the single tile pattern and the double tile pattern.
The single tile pattern is the most common and traditional style, which involves using one rectangular tile per diagonal. This creates a detailed and intricate effect that highlights both the pattern and the grout lines. The single tile herringbone style can work well in both large and small spaces.
The double tile pattern, on the other hand, is a bolder variation of the classic style. It pairs two rectangular tiles per diagonal, which emphasizes the arrow and creates a more dramatic layout. This style is best suited for larger areas, such as the length of a shower wall or tile floors, as it requires more space to fully showcase the pattern.
How To Install Herringbone Tiles
Installing herringbone tiles can be a bit challenging if you are doing it by yourself. I tried to explain it in a very simple way so that you can easily understand.
- Get your surface ready by cleaning it thoroughly and filling in any cracks or holes. You want a nice, flat surface to work with.
- Plan out your herringbone pattern by marking the center of the room and laying out a few rows of tiles to see how they fit together. This will help you avoid any mistakes later on.
- Cut your tiles to fit the space where the last tile in each row will be. This might take some time and patience, but it’s important to get it right.
- Mix your mortar according to the instructions on the bag. Make sure it’s not too dry or too wet – you want it to be just right.
- Apply the mortar in small sections, starting from the center of the room. Use a notched trowel to spread the mortar evenly.
- Press each tile firmly into the mortar, making sure to use spacers to keep them evenly spaced. Check each tile with a level to make sure it’s flush with the surrounding tiles.
- Cut and fit your border tiles carefully, taking your time to get the angles right.
- Let the tiles set for at least 24 hours before grouting. This will give the mortar time to dry and set.
- Mix your grout according to the instructions on the bag, and apply it using a rubber float. Wipe away any excess grout with a damp sponge.
- Finally, apply a sealer to the tiles and grout to protect them from stains and moisture.
Closing Thought
The herringbone pattern is a classic design that has been used in architecture and interior design for centuries.
It is a timeless pattern that never goes out of style, and it can add a sense of elegance and sophistication to any space.