In this article, you will learn how to repair hairline cracks in plaster.
Hairline cracks in plaster are thin cracks that form on the surface of walls or ceilings that have been plastered.
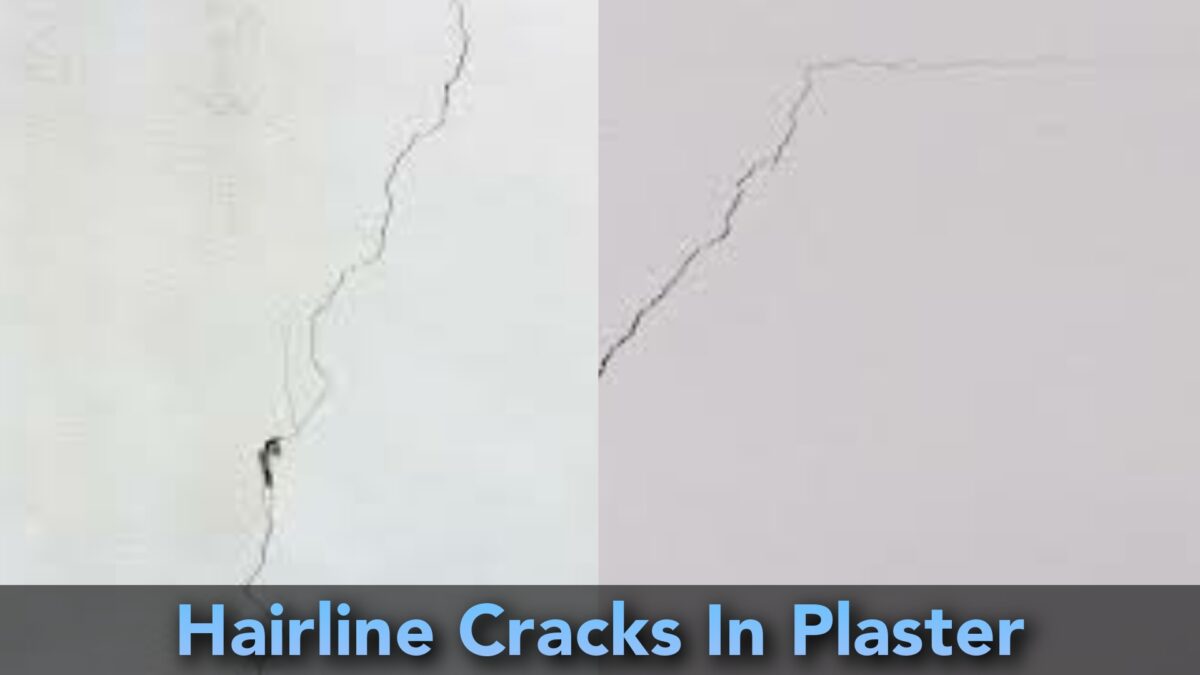
These cracks are usually extremely narrow, as thin as a strand of hair, which is why they’re called “hairline cracks.” People often find them in older houses, but they can also appear in newer buildings.
Table of Contents
How To Repair Hairline Cracks In Plaster
Time needed: 2 minutes
Here is the step by step procedure of how to repair hairline cracks in plaster.
- Clean the area:
Start by removing any loose plaster or debris around the crack. Use a brush or vacuum cleaner to clean the surface thoroughly.

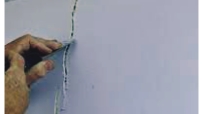
- Prepare the crack:
Take a putty knife and widen the crack slightly. This will help the patching material adhere better.

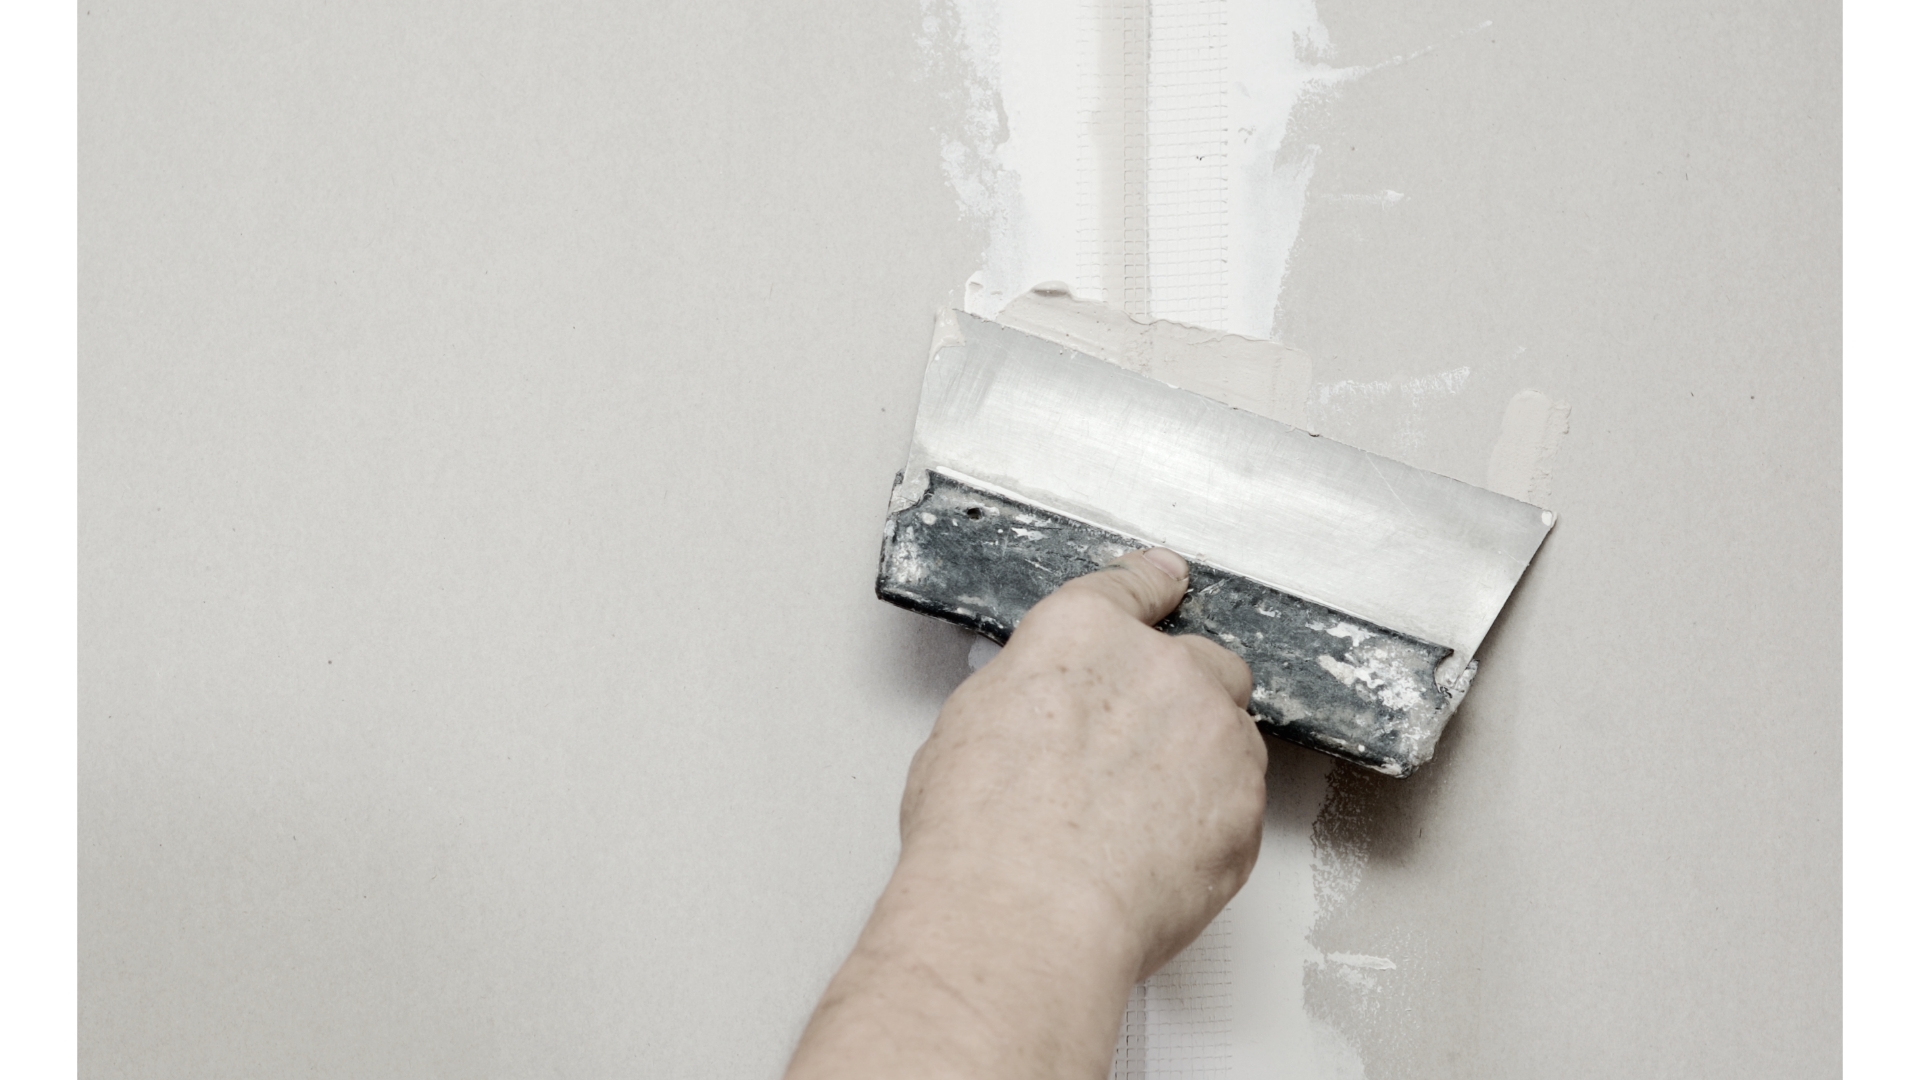
- Apply joint compound:
Take a small amount of joint compound on the putty knife and spread it over the crack. Use the knife to smooth the compound and make it level with the surrounding plaster.

- Let it dry:
Allow the joint compound to dry completely. Follow the instructions on the product for the recommended drying time.
- Sand the surface:
Once the compound is dry, gently sand the area with fine-grit sandpaper. This will ensure a smooth finish and blend the repair with the surrounding plaster.

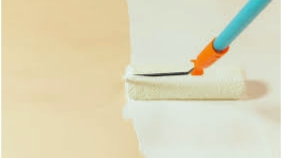
- Prime and paint:
Apply a coat of primer to the repaired area to help the paint adhere. Once the primer is dry, you can paint over the patch to match the rest of the wall.


Causes Of Hairline Cracks In Plastered Surface
1. Settling of the Building:
Over time, buildings naturally undergo a process called settling, which can cause minor shifts in their foundations and structures.
These gradual movements exert stress on the plaster, resulting in the formation of hairline cracks.
This phenomenon occurs due to the redistribution of weight and forces within the building, causing the plaster to adjust accordingly.
You can also read my article on Causes Of Foundation Settlement.
2. Temperature and Humidity Changes:
Fluctuations in temperature and humidity levels have a significant impact on building materials. As the temperature and humidity change, the materials expand and contract.
This continuous expansion and contraction place strain on the plaster, leading to the development of cracks. The repetitive nature of these temperature and humidity variations can weaken the plaster over time.
3. Poor Plaster Application:
The quality of plaster application plays a crucial role in its long-term durability. If the plaster was not applied properly or if insufficient preparation was conducted before plastering, weak spots may form within the plaster.
These weak areas are more susceptible to cracking, as they lack the necessary structural integrity. It is essential to ensure thorough and skillful plaster application to minimize the risk of cracks.
4. Insufficient Drying Time:
Proper drying and curing of plaster are vital for its stability and strength. If the plaster is painted or covered too soon, it hampers the drying process, preventing it from reaching its full hardness.
As a result, cracks may develop due to the inadequate drying time. It is crucial to allow sufficient time for the plaster to dry completely before any further treatments or coverings are applied.
5. Structural Movement:
In some cases, underlying structural issues within a building can contribute to the appearance of hairline cracks in the plaster. Problems such as foundation issues or movement within the structure can exert pressure on the plaster, causing it to crack.
These structural movements may occur due to various factors, including soil conditions, structural defects, or external forces. Identifying and addressing the root causes of structural movement is essential to prevent further damage to the plaster and maintain the overall stability of the building.