Pocket hole joinery is a great way to join two pieces of wood when you need a strong joint without any visible fasteners on one side.
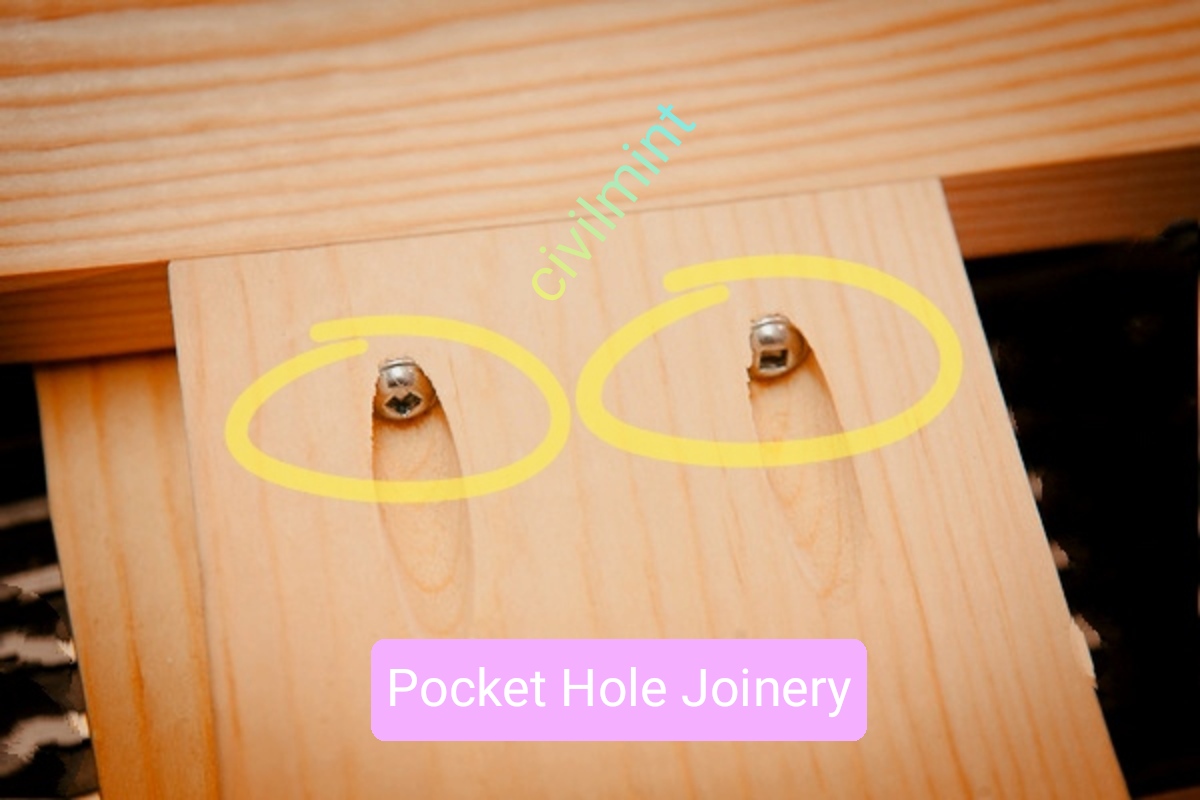
Table of Contents
Description Of Pocket Hole Joinery
Pocket hole joinery is a technique used to connect two pieces of wood together without the use of glue.
It involves drilling a screw at a 15-degree angle and creating a pocket hole to provide the perfect entry angle for the screw.
The screw is then inserted into the hole, allowing the head to sit flush within the pocket, resulting in a tight bond between the two pieces of wood.
This method is suitable for use with various types of wood and requires specialized tools to complete the process.
Must Have Tools To Make Pocket Hole Joinery
1. Pocket Hole Jig or Kreg Jig
The first tool you’ll need is a pocket hole jig or Kreg jig. This specialized tool serves as a guide for creating the perfect angle for your pocket holes. It’s adjustable, so you can use it with any size of wood. The jig has two parts, the base and the drill guide. The base is clamped to your workpiece, while the drill guide sets the angle of the hole you’re drilling.
2. Step Drill Bit
Along with a pocket hole jig, you’ll need a step drill bit. This drill bit is designed to get increasingly larger as you continue to drill, ultimately creating the pocket shape. It also has an adjustable stop collar to set the bit depth. Most pocket hole jigs come with this drill bit, but it’s good to have replacements on hand, especially if you’re working on a large project.
3. Pocket Hole Screws
The next tool you’ll need is pocket hole screws. These come in two varieties, coarse or fine. Coarse pocket hole screws are best for softwoods, while fine pocket hole screws are designed to be used with hardwoods. You can also choose between two types of screw heads: washer heads, which are used for thicker boards, while pan screws are used for thinner boards that are ½ inch thick or less.
4. Clamps
You’ll need clamps to hold your workpieces in place while you drill your pocket holes. Choose the right clamp based on the angle of your wood joints. If you’re joining two pieces of wood together at a 90-degree angle, then you’ll want to use a right-angle clamp.
How To Make A Pocket Hole
To create a pocket hole, the first step is to position the pieces of wood together. Pocket holes can be used on two out of three sides of a piece of wood – on the face and edge grains. However, it’s important to note that pocket screws cannot be used in the end grain, limiting their use to expanding the width of a woodworking project, but not the length.
The next step is to adjust the jig and stop collar. The jig needs to be set to the appropriate thickness for the wood being used, and the stop collar needs to be checked for the correct thickness as well. This ensures that the hole is drilled at the right depth and angle.
Once the jig and stop collar are adjusted, it’s time to drill the pocket holes. The wood is clamped in the jig to hold it steady while drilling, and for a clean pocket hole, the drill should be set to the highest speed setting.
After the holes are drilled, the joining pieces of wood need to be clamped together to prevent any shifting while drilling. Once the wood is clamped, it’s time to drill in the pocket screws. The screws will be driven into the pocket holes, completing the process and providing a strong bond between the pieces of wood.