Have you ever faced a problem cleaning your bathroom sink faucet aerator? If yes then this article can guide you to clean your bathroom sink faucets aerator.
Here is the list of required tools and materials to clean the faucet’s aerator:
- Bowl
- Pliers
- Screwdriver
- Masking tape
- Sewing needle
- Toothbrush
- Toothpick
- Vinegar
- Warm water
In the below image you can see all the required tools and materials to clean the faucet’s aerator.
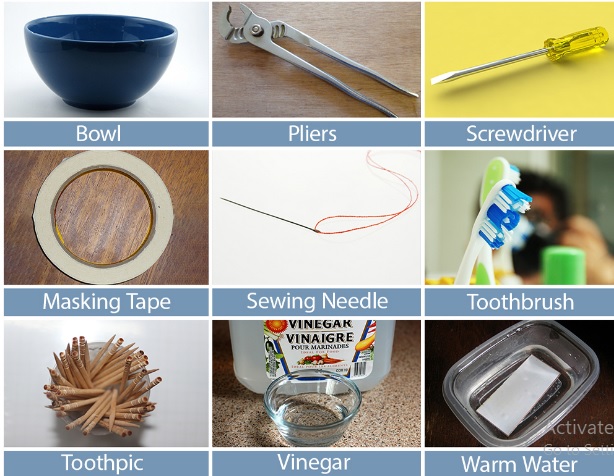
Table of Contents
Bathroom Sink Faucet’s Aerator Cleaning Process
Here are the complete steps to Clean Bathroom Sink Faucet’s Aerator.
- Remove the Aerator
- Clean the Inner Part of the Spout
- Clean the Aerator Parts
- Soak the Parts in Vinegar
- Rinse Again to Clean Faucet Head
- Reassemble the Aerator and Reattach
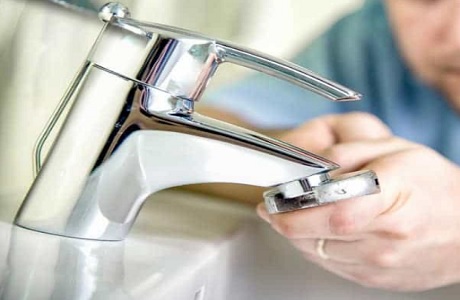
1. Remove the Aerator
Get the aerator from the spout end by holding it with your hand as you unthread it clockwise. Utilize your pincers to painstakingly relax it on the off chance that it is stuck and can’t turn by hand.
You likewise consider wrapping the pincers’ jaws utilizing veiling tape to shield your aerator’s completion from scratches.
Since certain aerators are made of plastic material, it is prescribed not to apply power in squeezing the pliers to avoid damaging the aerator.
2. Clean the Inner Part of the Spout
Start by checking for limescale and any parts that might have stuck on the spout’s internal dividers utilizing a screwdriver. On the off chance that you notice any part stayed with the flotsam and jetsam, pry it out utilizing the screwdriver. At that point clear out the limescale utilizing a similar screwdriver.
3. Clean the Aerator Parts
Cautiously dismantle the aerator with a toothpick taking note of the request for each part as you eliminate them. You can take pictures of them at each progression as the request should continue as before while reassembling the aerator.
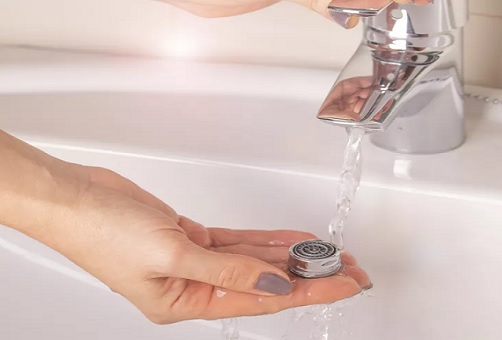
Flush the parts under running water to wash off any obvious residue from the surfaces.
On the off chance that you notice any tough scales on the screen openings and different parts that you can’t flush with water, utilize your sewing needle to clear them off.
4. Soak the Parts in Vinegar
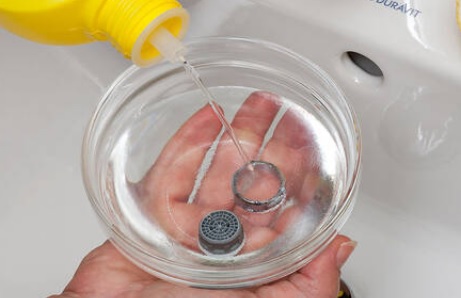
Blend warm water with vinegar in a proportion of 1:1 in a bowl. Spot the aerator parts in the answer for in any event 60 minutes.
It is prescribed to splash them significantly more for the stores to mellow enough so they can be taken out effectively utilizing a toothbrush.
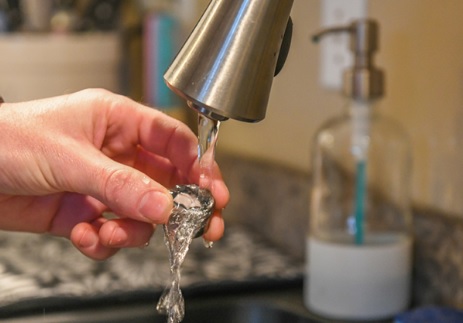
5. Rinse Again to Clean Faucet Head
After the deposits have mollified enough, wash the aerator leaves behind running water as you tenderly scour them utilizing a toothbrush.
6. Reassemble the Aerator and Reattach
Utilizing a similar order as you dismantled the aerator, reassemble it, and reattach it to the spout. Fix it cautiously utilizing your hand by turning it clockwise.
At that point run water through the fixture to check for spills. Guarantee the water isn’t gushing out ludicrous pieces of the aerator. In the event that it streams over the fitting, use pincers to fix it a smidgen more.